How to Replace a Cracked Glass Pane in a Sash Window
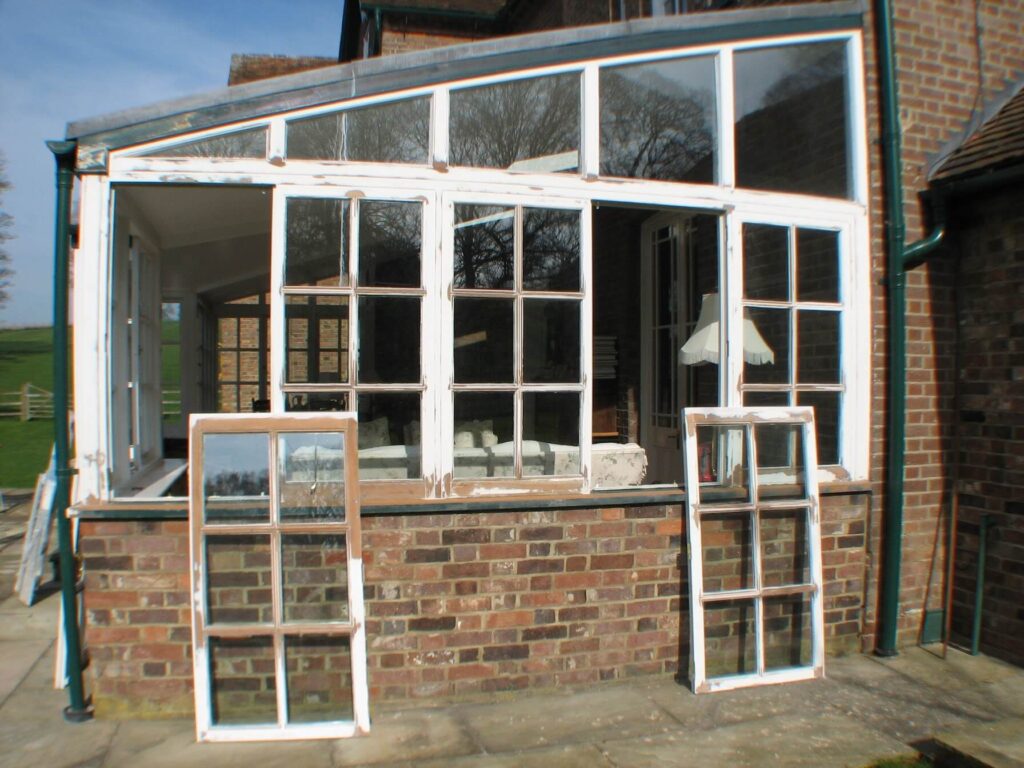
Traditional sash windows are a common feature in many heritage homes. Over the years, the glass in these windows may suffer wear and tear, resulting in cracks or damage, which could hamper their aesthetic appeal and utility.
Swapping a shattered glass pane in a sash window is a manageable task for any DIY enthusiast who is ready to spend time and adhere to the correct methods. Given the appropriate equipment and safety measures, successful glass replacement can be achieved.

Required Equipment and materials
Several essential tools are necessary for swapping a broken glass pane in a sash window. Compile the following before commencing:
Putty knife – An approximately 6-inch long putty knife with a pliable steel blade is ideal for removing old putty and applying new ones.
Safety glasses – Protective eyewear is indispensable when dealing with shattered glass. Ensure to wear safety glasses or goggles throughout the process.
Work gloves – Opt for leather gloves to protect your hands from sharp corners and debris. Gloves with an enhanced grip on the palms and wrists are preferable.
Heat gun – Using a heat gun at a low setting helps to soften the old putty for easy removal. Be cautious not to overheat and harm the window.
Linseed oil – Applying a thin coat of linseed oil on the window frame prior to the new putty assists in proper adhesion.
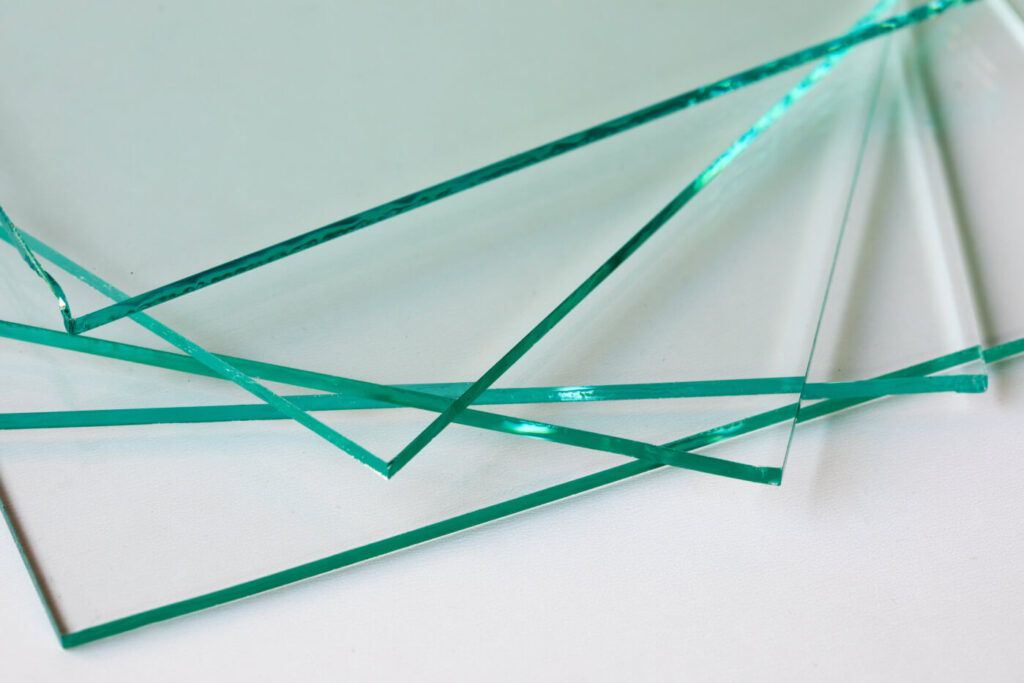
Replacement glass – Measure the window frame accurately and obtain a new pane of glass cut to the exact size. Ensure the type of glass corresponds with the original window.
Glazing compound – Opt for a superior quality window glazing compound to establish a watertight seal between the glass and frame.
Glazing points – These small metal fasteners secure the glass in position. They are placed around the edge of the pane.
Sandpaper – Fine-grain sandpaper is used to smooth out the rough edges on the cut glass for safety.
Paint and supplies – Repaint the window frame for protection. Have paint, primer, brushes, and painter’s tape at your disposal.
Safety Precautions
While dealing with shattered glass, safety should be the primary concern. Always wear thick work gloves and protective eyewear during the project.
Handle the damaged glass with utmost caution to prevent injuries. Keep a first aid kit accessible in case of accidental cuts. Cover nearby areas with drop cloths to avoid damage and facilitate easy cleanup.
Window Preparation
Begin by employing the putty knife to gently scrape away any dried or broken putty from the original window pane. Be careful not to scratch the wooden frame during removal. Use the heat gun to soften the putty and facilitate its removal.
Remove all remnants of old putty from the window frame. Clean away any dust or particles with a dry cloth. Inspect the frame closely for any decay, cracks, or other damage. Address any problems to ensure the surface is ready for fresh putty and glazing.
Coat the exposed wood of the window frame with a thin layer of linseed oil using a paintbrush or lint-free cloth. This offers a protective layer and allows the new putty to stick securely. Allow the oil to dry fully before proceeding further.
Measuring and Cutting the Glass
Measure the height and width of the window opening precisely using a measuring tape. Note down the accurate dimensions. Carry these measurements to your local glass store and request them to cut a new pane of glass to match the window frame’s dimensions.
Opt for new glass that aligns or surpasses the characteristics of the original glass, such as single pane, double pane, or tempered glass. For better energy efficiency, consider upgrading to a double-pane glass.

If you’re cutting the glass on your own, score the glass along a straight edge using a dedicated glass cutter, applying consistent, firm pressure. Position the scored line directly over the edge of a sturdy table. Wearing heavy-duty work gloves and safety glasses, press down on both sides of the scored line until the glass breaks cleanly.
Smooth out the freshly cut edges of the glass pane with a piece of fine-grit sandpaper. Once done, clean with a damp cloth. Inspect the glass thoroughly for cracks or weak points before installation.
Installing the New Glass Pane
Before introducing the new pane of glass, apply a line of glazing compound along the interior of the window frame using the putty knife. This seals the glass and prevents air or water leakage.
Gently position the new glass pane into the frame, nudging it into place. Press the glass firmly to embed it into the glazing compound, establishing a tight seal all around. Install glazing points evenly spaced around the edges, tapping them in place with the handle of the putty knife. The points keep the glass from moving.
Apply another layer of glazing compound over the glazing points, sealing any crevices or gaps. Use the putty knife for a tidy finish. Wipe away any excess compound with a damp cloth. Let the glazing compound cure fully for a minimum of 24-48 hours before handling the window.
Final Touches
Once the glazing compound is set, the glass replacement is finished. For a final touch, mask off the glass using painter’s tape, then repaint the window frame with a new coat of exterior-grade paint. This gives the window a fresh look and shields the wood from the weather.
Take time to smooth out the brush strokes for an even coat of paint. Allow the paint to dry completely between coats. Only remove the painter’s tape after the final coat has dried to expose clean paint lines. Clear up any drips. Maintain the window appropriately by repainting every few years.
Given the right equipment, safety gear, and techniques, a homeowner can effectively replace a shattered pane of glass in a sash window.
Although this task requires patience and care, it is a feasible weekend project that restores the utility and visual appeal of traditional sash windows. If there are any uncertainties or problems, consider hiring a professional.