Repair Rot with Epoxy Fillers
Rot is the decomposition and decay of wood caused by fungi and bacteria. It leads to structural weakness and aesthetic damage. The two main types of rot are dry rot and wet rot.
Dry rot affects wood through fungal damage, turning it brittle and crumbly. Wet rot is caused by excess moisture, leading to swelling, softening and eventual structural failure.

Benefits of Epoxy Fillers
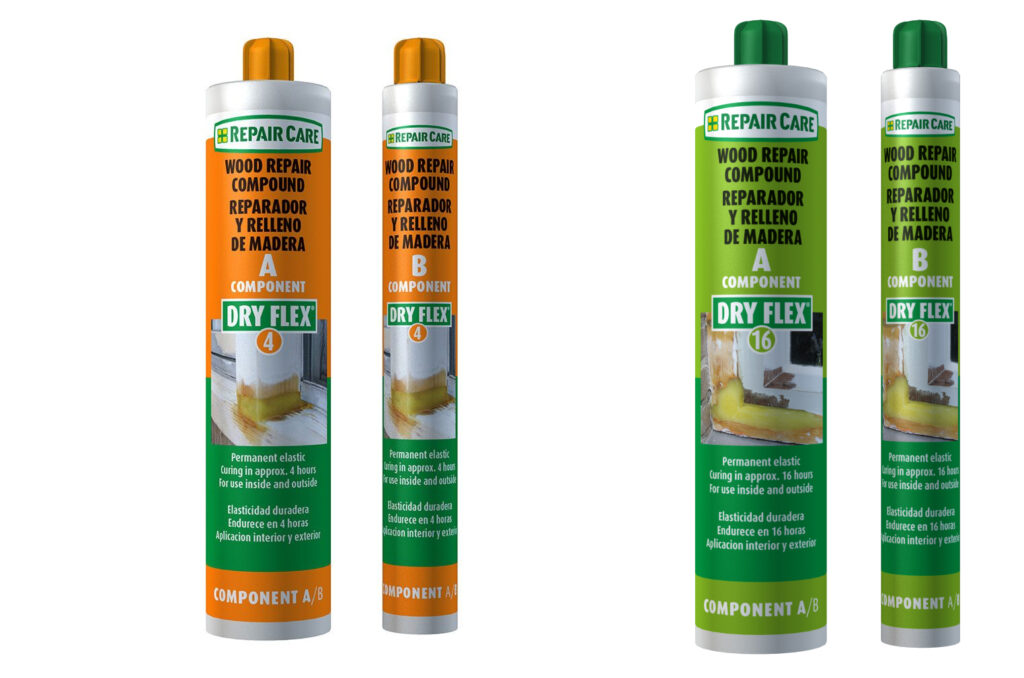
Epoxy fillers are two-part adhesives that can be used to repair rotted wood. Here are some of the benefits of using epoxy fillers:
- Durable repairs – Epoxies form a strong bond and maintain their strength over time. Repairs can last for years.
- Waterproof – Epoxies create a water-tight seal that prevents further water damage. This helps stop the spread of rot.
- Versatile – Epoxy fillers can be tinted to match the color of the original wood. They can also be sanded and shaped once cured.
- Easy to apply – Epoxy fillers come in convenient two-part formulas that are mixed and applied with disposable tools. No complicated tools or skills required.
- Cost-effective – Repairing rot with epoxy is often cheaper than full wood replacement. The products go a long way and provide long-lasting fixes.
Identifying Rot
Detecting rot early is important to prevent extensive damage.
Here are signs to look for:
Visible Signs of Rot
- Discolored wood – Look for areas of gray, black or brown discoloration.
- Soft, crumbling spots – Check for sections that dent or crumble easily under pressure.
- Peeling paint or warped wood – Bubbling, cracked or warped surfaces may indicate rot underneath.
- Water stains – Leaks, moisture and poor drainage can cause rot over time.
- Mushrooms or fungi – Visible fungus growth is a clear sign of advanced rot.
Testing for Rot with a Screwdriver or Chisel
Use a sharp tool to probe suspect areas. Healthy wood will be difficult to penetrate while rotted wood will dig out easily. A hollow, brittle sensation indicates advanced rot.
Checking Surrounding Areas for Damage
Inspect adjoining walls, supports, surfaces and hardware for related deterioration. Rot spreads quickly through contact. Look for rust, leaks, cracks, drips and moisture that may be contributing to rot. Address these issues during repairs.
| Type of Rot | Appearance | Texture | Cause |
| Dry Rot | Light to dark brown discoloration | Brittle, crumbling | Fungal decay |
| Wet Rot | Gray, black discoloration | Spongy, soft | Excess moisture |
Preparing the Area
Proper preparation helps epoxy fillers bond successfully. Follow these steps:
Removing Rotted Wood
Use a putty knife, paint scraper or chemical stripper to dig out and remove all rotted, crumbling material. Remove rot until only solid wood remains. Discard all debris.
Cleaning the Area
Scrub the repair area to remove mold, fungi and debris. A vacuum cleaner and detergent solution work well. Rinse and let the area dry completely.
Filling Cracks and Holes
Seal any crevices or nail holes with epoxy consolidant before applying wood fillers. This helps prevent future moisture damage. Allow sealant to dry completely.
Sanding the Surface
Lightly sand the intact wood around the repair area to rough up the surface. This allows the epoxy filler to bond tightly. Wipe away sanding dust.
Applying Epoxy Fillers
Follow manufacturer’s instructions for best results. Here are some tips:

Choosing the Right Epoxy
Consider the type of wood, size of the repair, desired finish and color. Opt for a lightweight filler for softwoods like pine. Use heavier, stronger epoxy for hardwoods like oak.
Mixing the Epoxy
Mix the filler at the specified ratio, typically 1:1. Stir thoroughly until a uniform color is achieved with no streaks. Work quickly once mixed – epoxy sets up fast.
Filling the Damaged Area
Apply epoxy directly into cavities using a disposable stick or plastic spreader. Overfill slightly to allow for sanding. Level and smooth the filler.
Optional Coloring
For natural-looking repairs, add wood toner, stain or paint to match surrounding wood. Test on scrap wood first. Let coloring dry before sanding or topcoating.
Sanding and Finishing
Once cured, sand epoxy patches flush with the surrounding surface. Begin with 80 grit sandpaper, progressing to 120 and 220 grit for a smooth finish. Wipe away dust, then apply primers, paint or clear coatings as desired.
Epoxy fillers offer an easy, long-lasting solution for restoring strength and appearance to rotted wood. With proper preparation and application, they form durable structural repairs that resist water damage and prevent future rot.
Follow the manufacturer’s instructions and work safely to achieve professional-looking results. Investing in these specialty adhesives can extend the life of wood structures while avoiding costly replacement.